This site maintained by Windows Labs Administrator
Suggestions and comments about this web site: gopesh@iitk.ac.in
This page was last modified: 20 Nov 2023 02:50 PM
| Installation of Abaqus 2023 in Microsoft Windows |
| The procedure below explains how to install
& run Abaqus 2023
on Microsoft Windows 10/11 64-bit Operating System. The Abaqus 2023
software and documentation is zipped and available for download from CC ftp Site. To download
Abaqus 2023 software for Windows Click Here |
| Execute Abaqus : To run or execute Abaqus 2023, Open C:\SIMULIA\Commands\abq_cae_open.bat |
Important: In Windows 10/11, it is mendatory to add command directory path to "PATH" variable. To add path, open run command by pressing " + R" and type "sysdm.cpl", go to "Advance" tab and click on "Environment Variables" and edit "PATH" variable for both "System and User". Click "New" and type "C:\SIMULIA\Commands" and click "OK" + R" and type "sysdm.cpl", go to "Advance" tab and click on "Environment Variables" and edit "PATH" variable for both "System and User". Click "New" and type "C:\SIMULIA\Commands" and click "OK" |
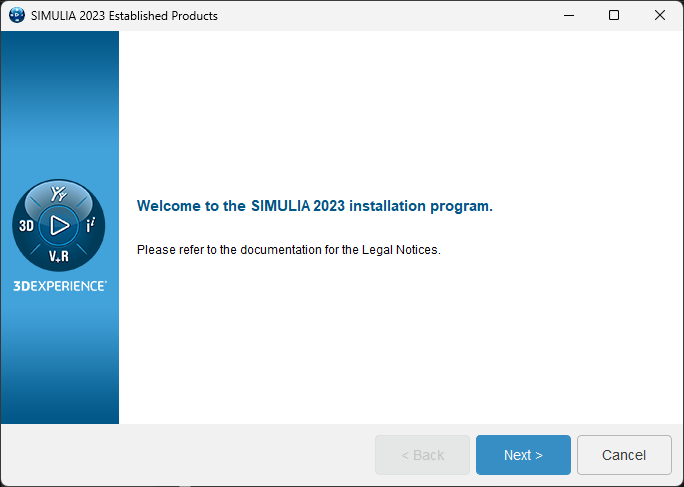
| Go to Abaqus folder and run the
setup.exe from "D:\AM_SIM_Abaqus_Extend.AllOS_2023\1\". Click on "Next" button. |
 |
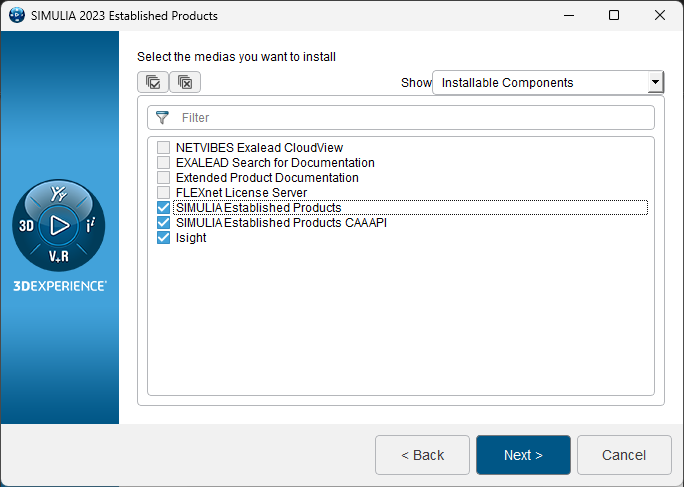
| Proceed with the following selected products and click on "Next" button. |
 |
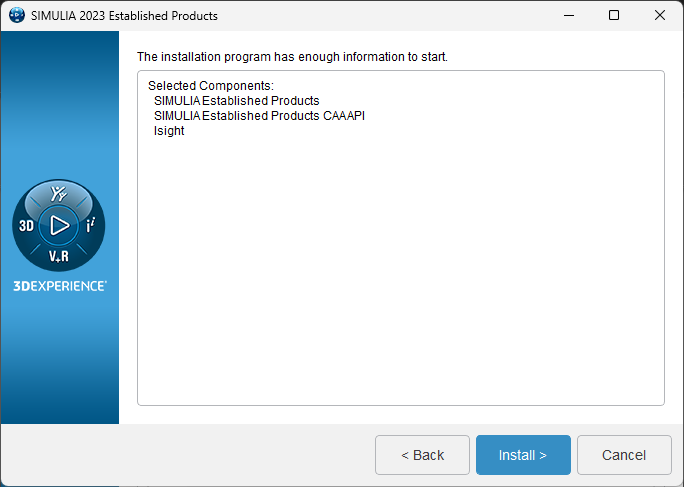
| Click on "Install" button. |
 |
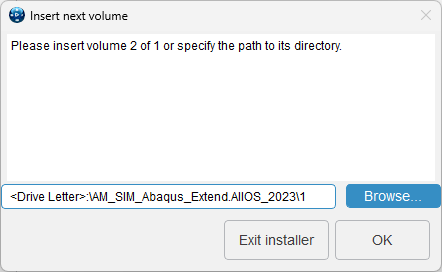
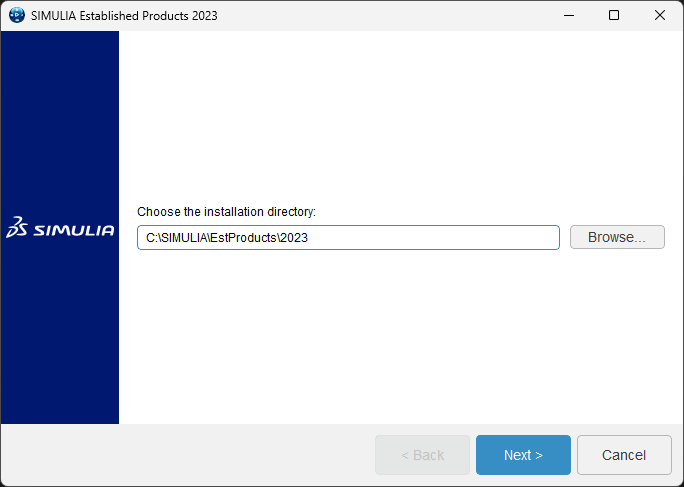
| Click on "Browse" button and Select the installer file path and Click on "OK". |
 |
| Click on "Next" button. |
 |
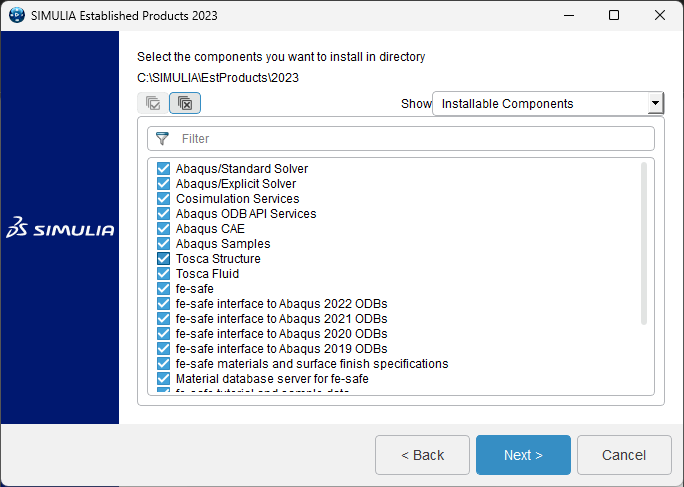
| Select the products from list as required and click on "Next" button. |
 |
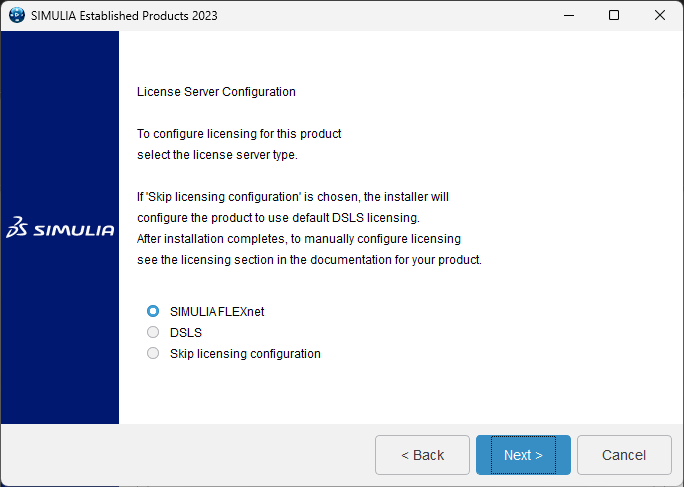 |
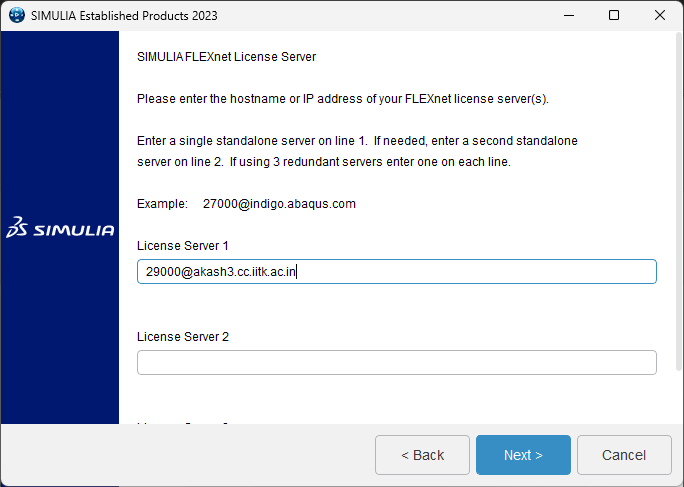
Specify the license server details (29000@akash3.cc.iitk.ac.in) and click on "Next" button. |
 |
Click on "Next" button. |
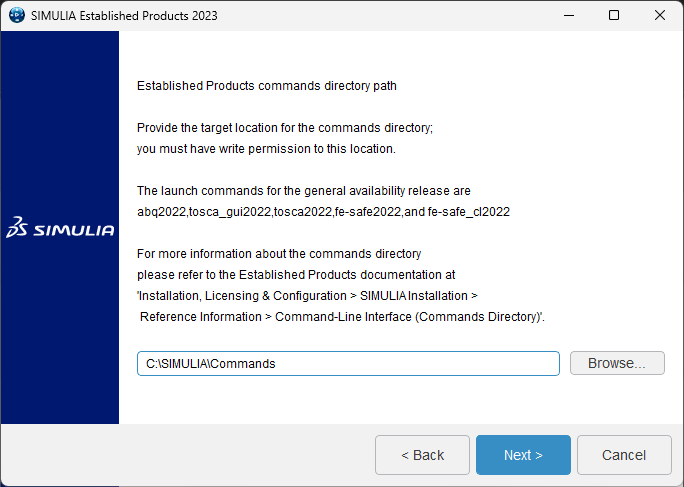 |
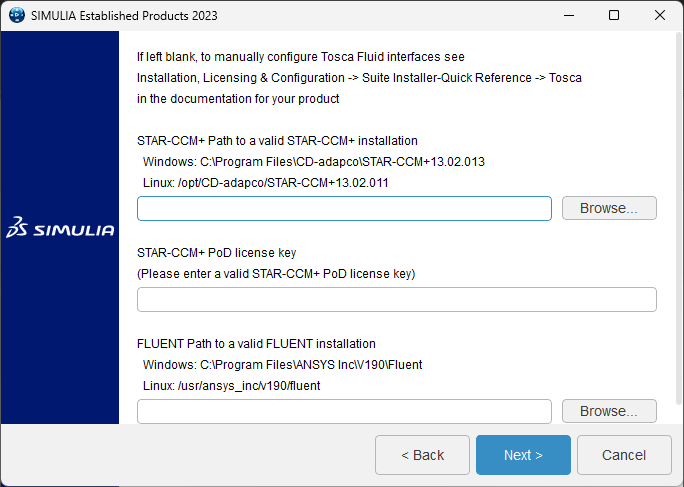
| Click on "Next" button. |
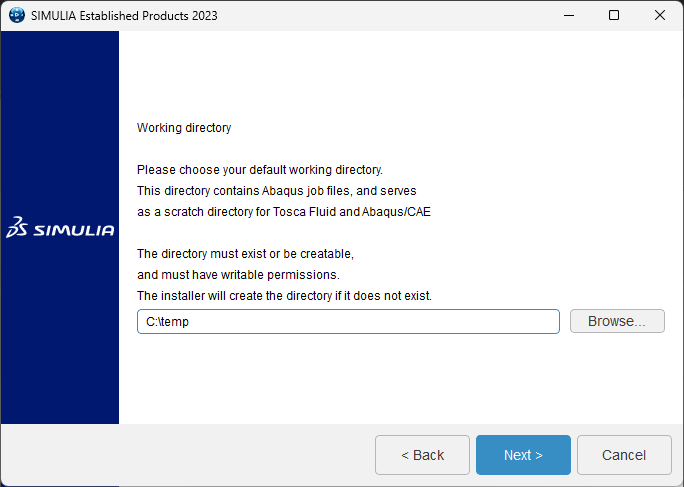 |
| Click on "Next" button. |
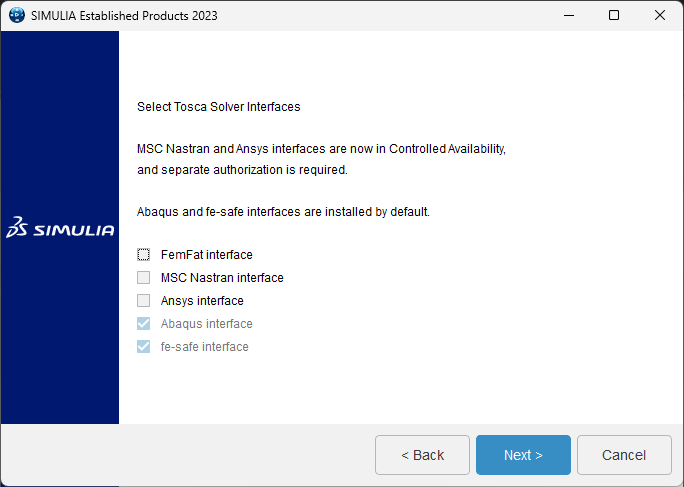 |
| Click on "Next" button. |
 |
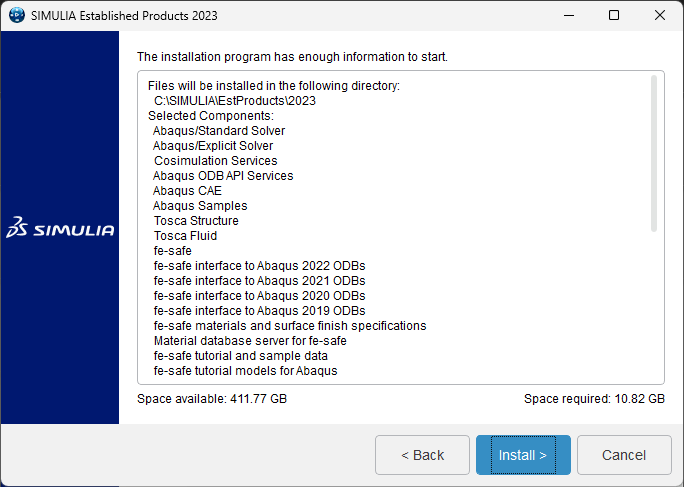
Click on "Install" button. |
 |
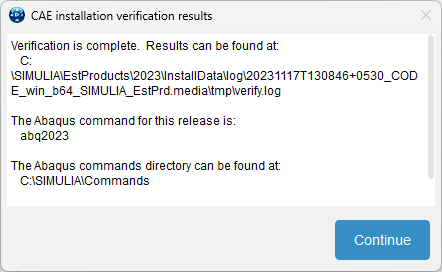
| Wait for installation to complete and click on "Continue". |
 |
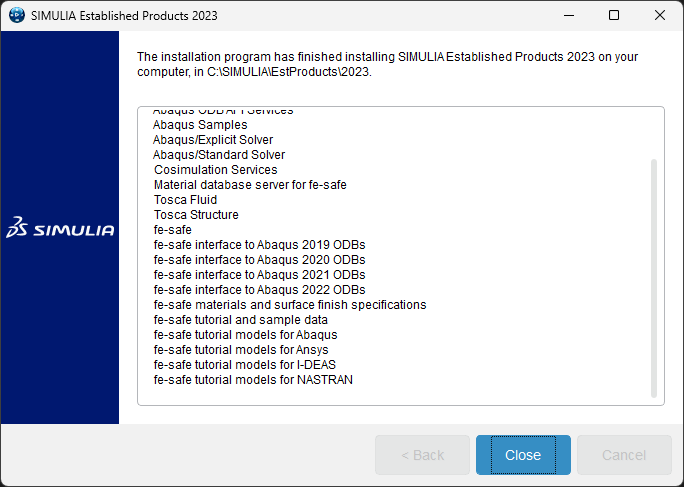
| Click on "Close" button. |
 |
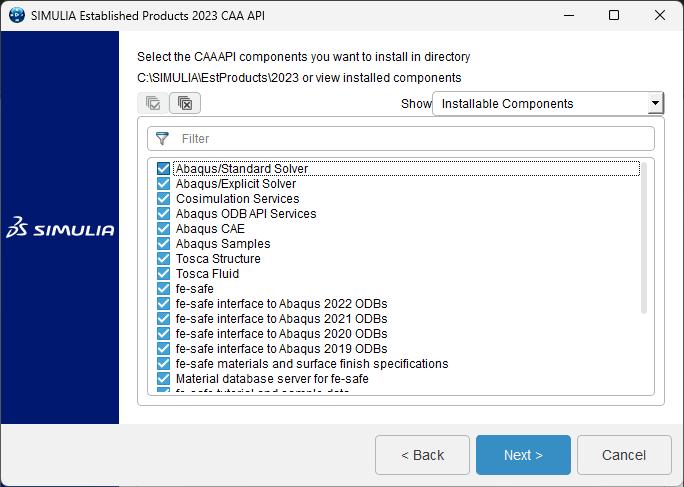
Click on "Next" button for the installation of "CAA API". |
 |
| Proceed with the default selected products and click on "Next" button. |
 |
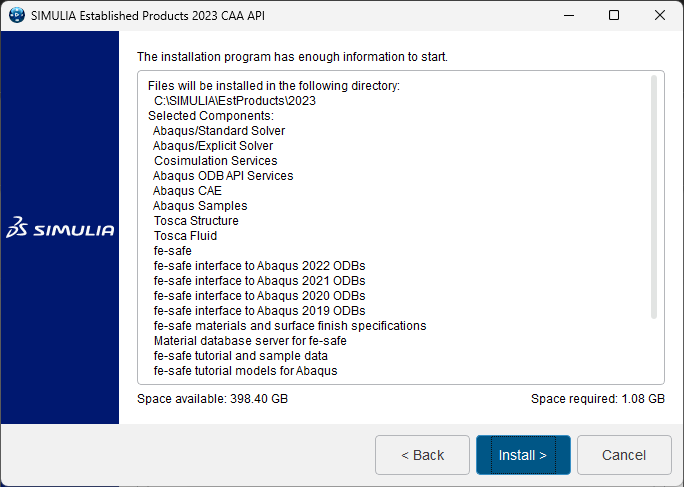
Click on "Install" button. |
 |
| Click on "Close" button. |
 |
| Click on "Next" button for the installation of "Insight". |
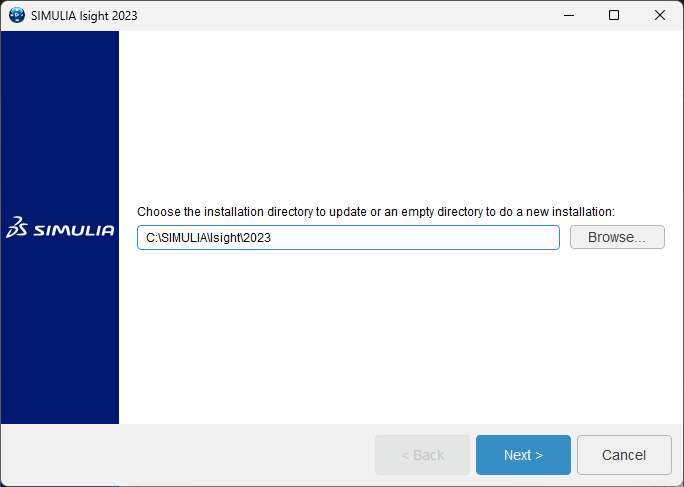 |
| Click on "Next" button. |
 |
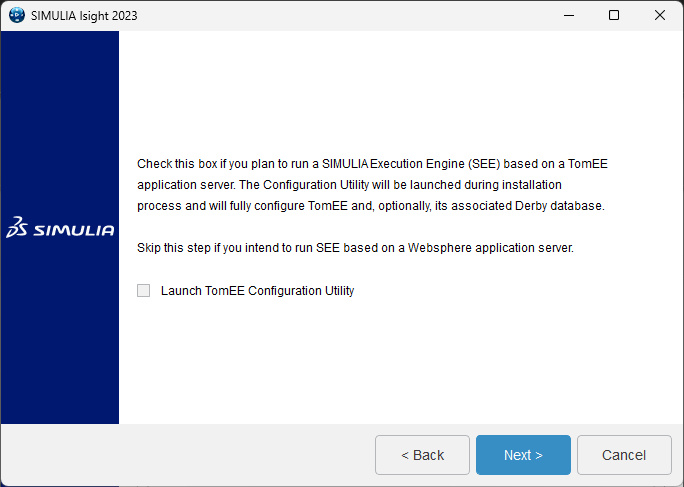
| Click on "Next" button. |
 |
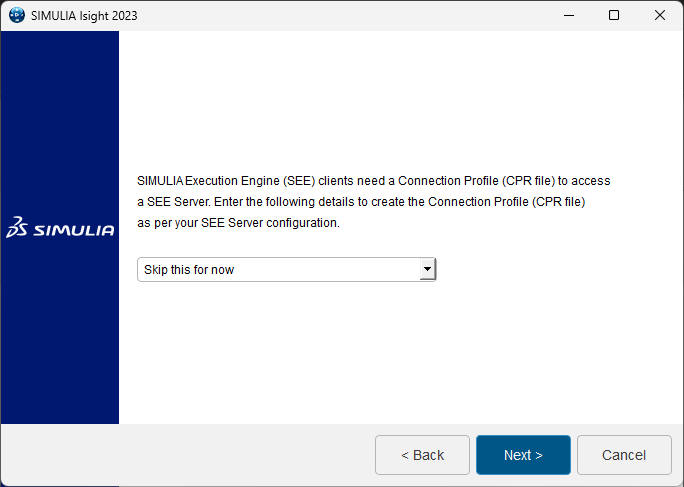
Click on "Next" button. |
 |
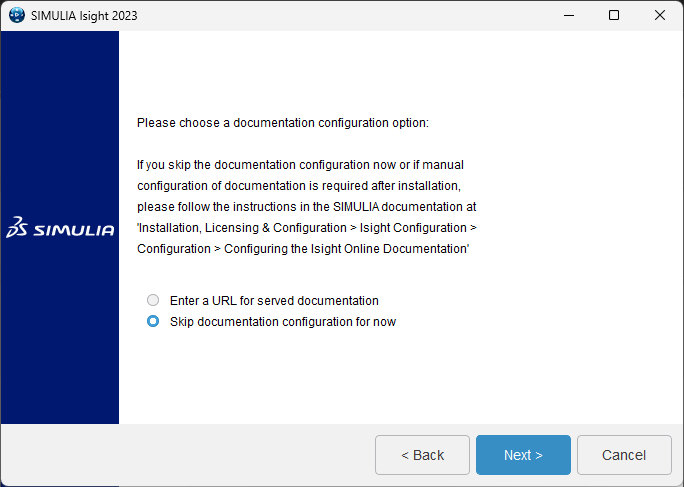
| Select "Skip documentation configuration for now" and click on "Next" button. |
 |
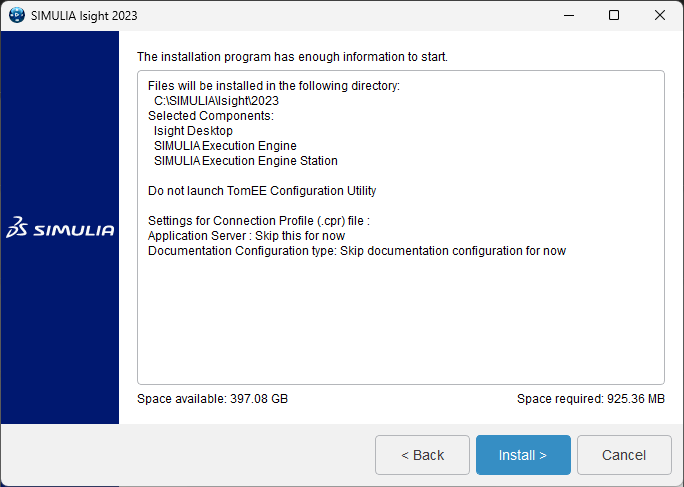
| Click on "Install" button. |
 |
| Click on "Close" button. |
| ` |