Getting Started
The Abaqus 2019 software and documentation is available for download from the CC FTP Site.
Download Abaqus 2019
Extract the zipped file to a local drive (e.g., D:\).
Critical Configuration Step
Before or after installation, you MUST configure the Environment Variables:
- Press Win + R and type
sysdm.cpl. - Go to the Advanced tab and click Environment Variables.
- Edit the PATH variable (for both System and User).
- Click New and add this path:
C:\SIMULIA\Commands
To Run Abaqus: Execute
C:\SIMULIA\Commands\abq_cae_open.bat
Installation Sequence
It is mandatory to install the components in the given order:
- Abaqus Simulation Services
- Abaqus Simulation Services CAA API
- Abaqus / CAE
- fe-safe
- Tosca
Installation Walkthrough
Swipe or tap arrows to navigate

Go to Abaqus documentation folder and run setup.exe from
D:\Abaqus2019\AM_SIM_Abaqus_Extend.AllOS.1-5\1.
Click "Next".

Proceed with the selected products and click "Next".

Click "Install".

Click "Next" for Abaqus Simulation Services installation.

Click "Next".

Click "Install".

Wait for installation to complete.

Click "Close".
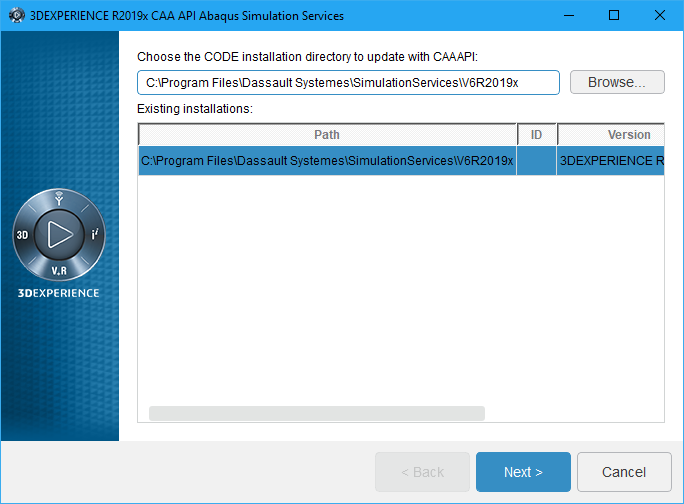
Click "Next" for CAA API Abaqus Simulation Services installation.

Click "Next".
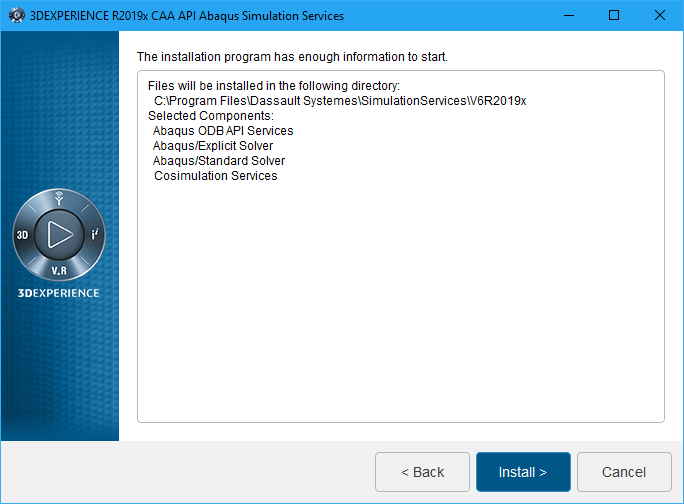
Click "Install".

Click "Close".

Click "Next" for Abaqus CAE 2019 installation.

Select "SIMULIA FLEXnet" and click "Next".

Specify the license server details 29000@akash3.cc.iitk.ac.in and
click "Next".
Campus Network
connectivity required. Configure DNS
Suffixes.

Click "Next".

Click "Next".

Click "Next".
Click "Next" with default selection.

Click "Next".

Click "Install".
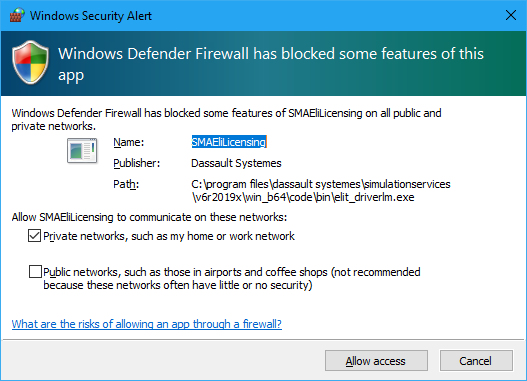
Check the "Private network" and click on "Allow Access" button.

Click "Close".
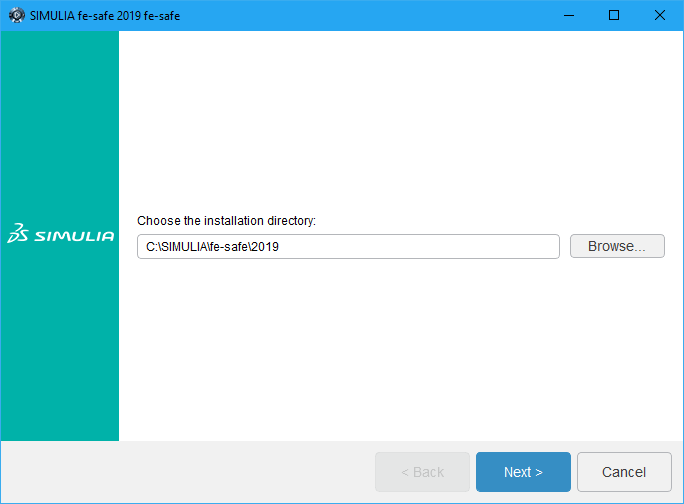
Click on "Next" button for "fe-safe 2019" installation.

Proceed with the default selection and click "Next".

Click "Close".

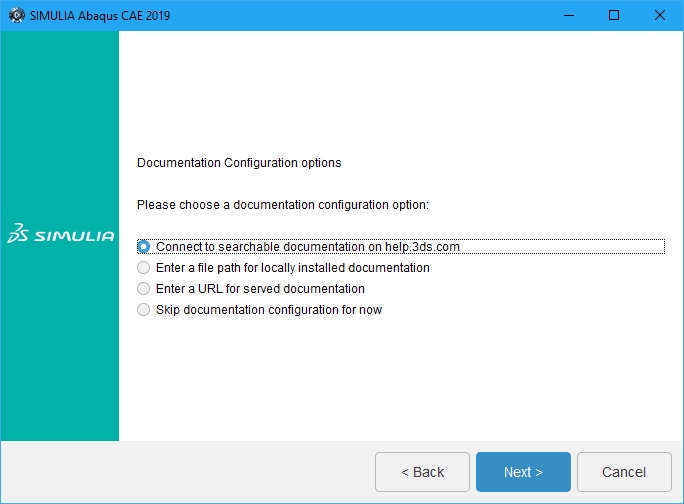
Click "Next".

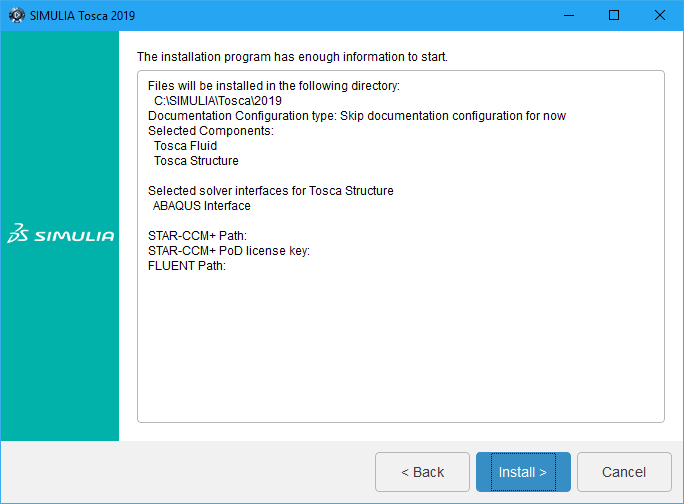
Select "Skip documentation configuration for now" and click "Next".

Click "Next" for "Tosca" installation.

Click "Next".

Click "Next".
Click "Install".

Click "Close".
Installation Complete!
Remember to verify your Environment Variables.
All components installed successfully. Your Abaqus 2019 is ready to use!