Getting Started
This article is useful for those who primarily use Windows but for some reason want to have a parallel Linux machine running without dual boot. This is possible through virtualization. The opposite (Windows on a virtual machine inside Linux) is also possible, though we are not discussing it here. VirtualBox is a free software and has been reported to work well. This article provides installation and configuration steps along with screenshots.
Download VirtualBoxInstallation Walkthrough
Swipe or tap arrows to navigate

Run the Virtual Box setup and click on "Next" button.

Click on "Next" button.

Click on "Next" button.

Click on "Yes" button.

Click on "Install" button.

Installing "Ubuntu" as virtual machine in
"Oracle VM VirtualBox".
Open "Oracle VM VirtualBox Manager".

Click on "New" button and select "Expert Mode".

Provide the name and operating system information for virtual machine.

Select the path for the virtual hard disk and click on "Create" button.
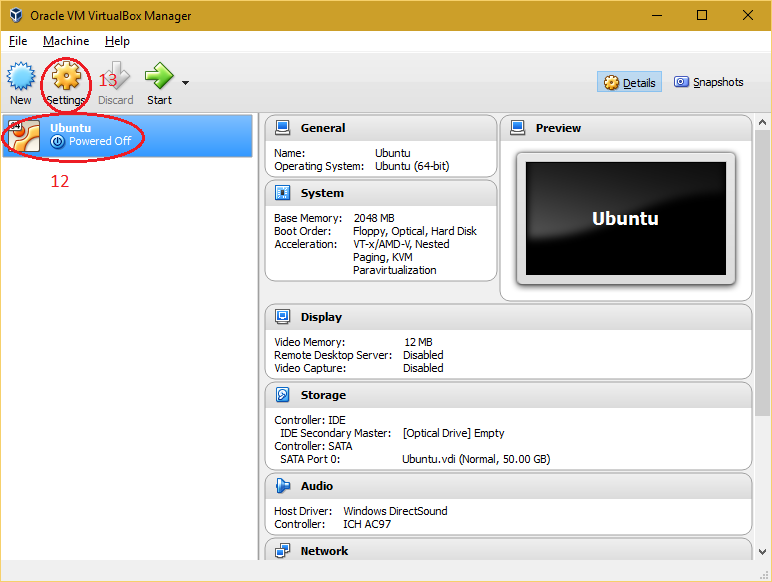
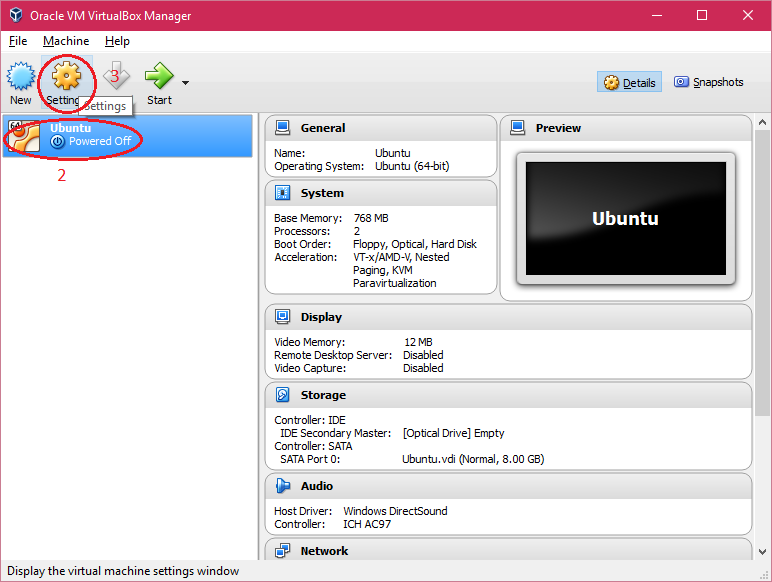
Select the virtual machine from the virtual box manager and click on "Settings" button.

Select "System" and navigate to "Processor" tab to adjust number of processor of virtual machine for better performance.
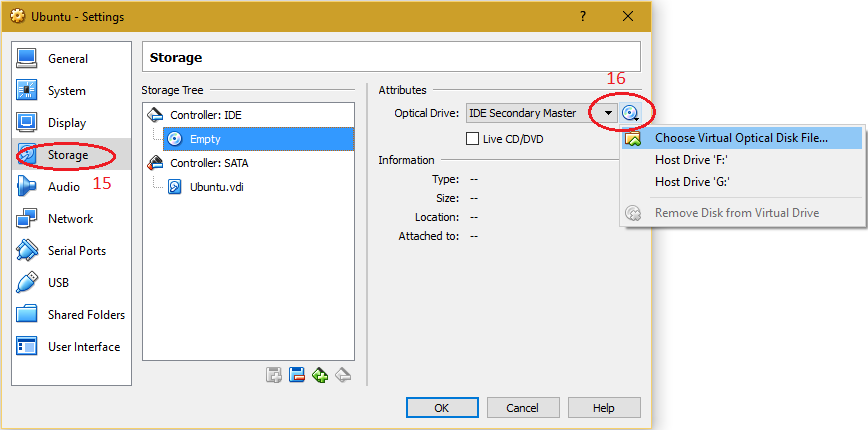
Select "Storage" and choose the installation media of Operating System (ISO/CD/DVD).

Select "Network" to make changes required for network setting of virtual machine and click on "OK".

Select the created virtual machine and click on "Start" button.
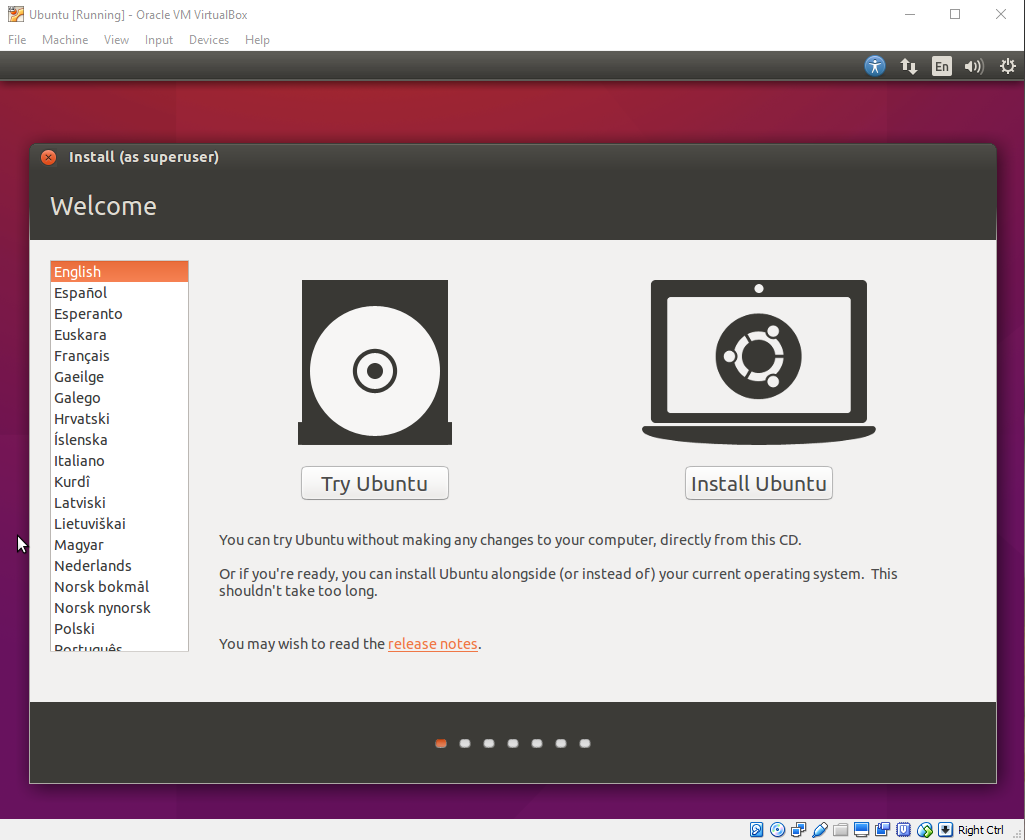
Proceed with the installation of operating system in virtual machine.

Installing "Guest Additions CD image" in Ubuntu virtual machine.
Login to user account on Ubuntu virtual machine. Select "Device > Insert Guest Addition CD image".

Click "Run" to install "Guest Additions".
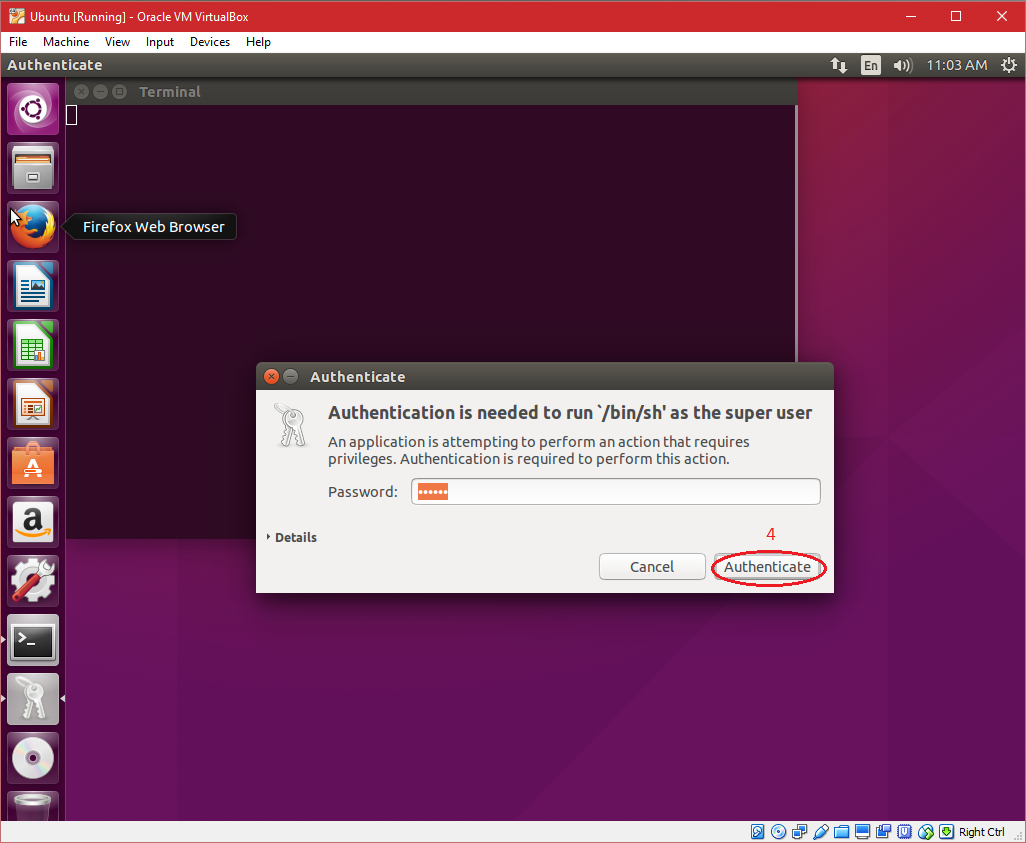
Input the authentication of super user and click on "Authenticate". After completing installtion "Reboot" the virtual machine.

"Shared Folder" between host os
(i.e. Windows OS) and guest os (i.e. Ubuntu).
Note: Before continuing, shutdown the virtual machine.
Create a folder on host os (i.e. on Windows) with any name "Share" on
any drive having suffecient available space10.
Proceed with the installation
of operating system in virtual machine.
Select the virtual machine in "Oracle VM VirtualBox Manager" and click on "Settings".

10. Select "Shared Folders" and click on "+" to add a shared folder to virtual machine.

Enter the "Folder Path, Folder Name" and select "Auto-mount" and click on "OK" button.

Power on the virtual machine and open "Terminal".

Run the following commands in"Terminal"
"mkdir vmshare" where vmshare is the mount point for Shared
Folder.
"sudo chmod 777 vmshare"

Append a line in "/etc/rc.local" file to automount the "Shared
Folder" on every boot.
mount -t vboxsf -o uid=1000,gid=1000 Share /home/<Your User
Name>/vmshare
Save the file and reboot the virtual machine.

Review the file.

Open the file browser and navigate to the shared folder to verify its contents.
Installation Complete!
Ubuntu Virtual Machine ready to use.
Ubuntu Virtual Machine ready to use.