Thunderbird Mail Configuration
Download the "Thunderbird Installer" from the site: www.mozilla.org
The procedure below explains how to install Thunderbird.
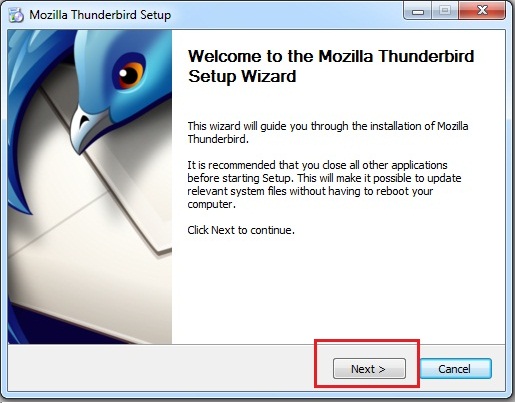
- Double click on the Installed Thunderbird setup and click Next.
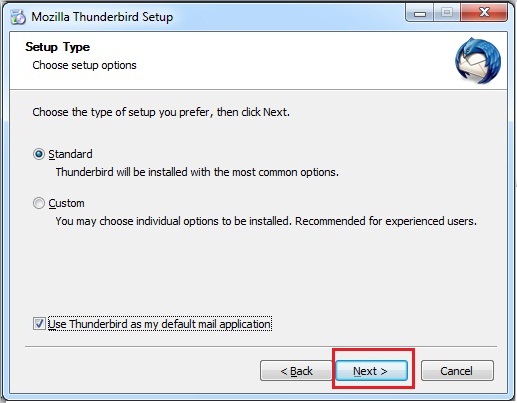
- Give the option as shown below and click Next.
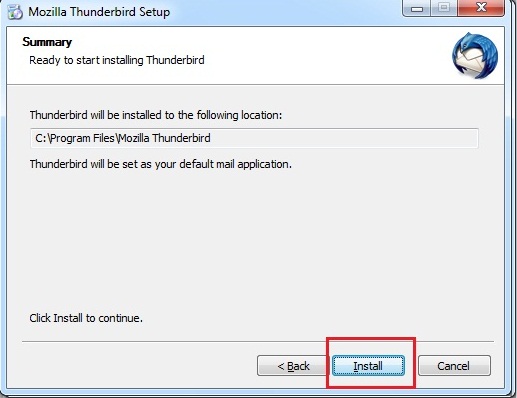
- Click Install to start the Installation.
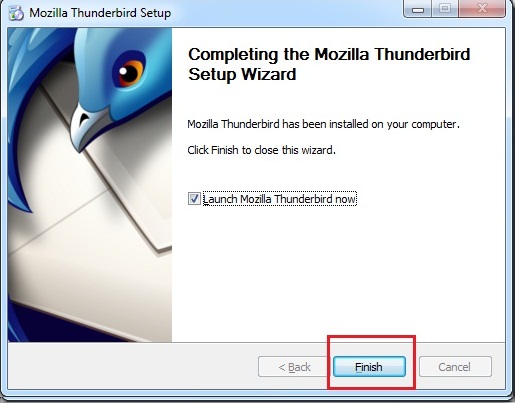
- Click Finish to complete the Installation.
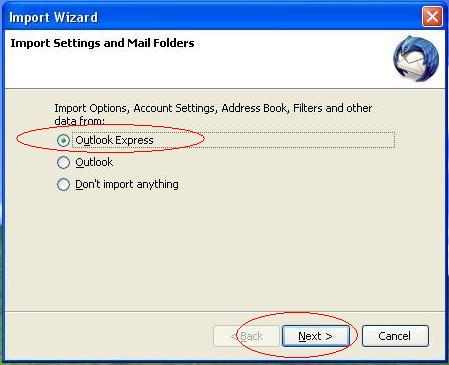
- If required then import Details from older Email Clients like Outlook Express.
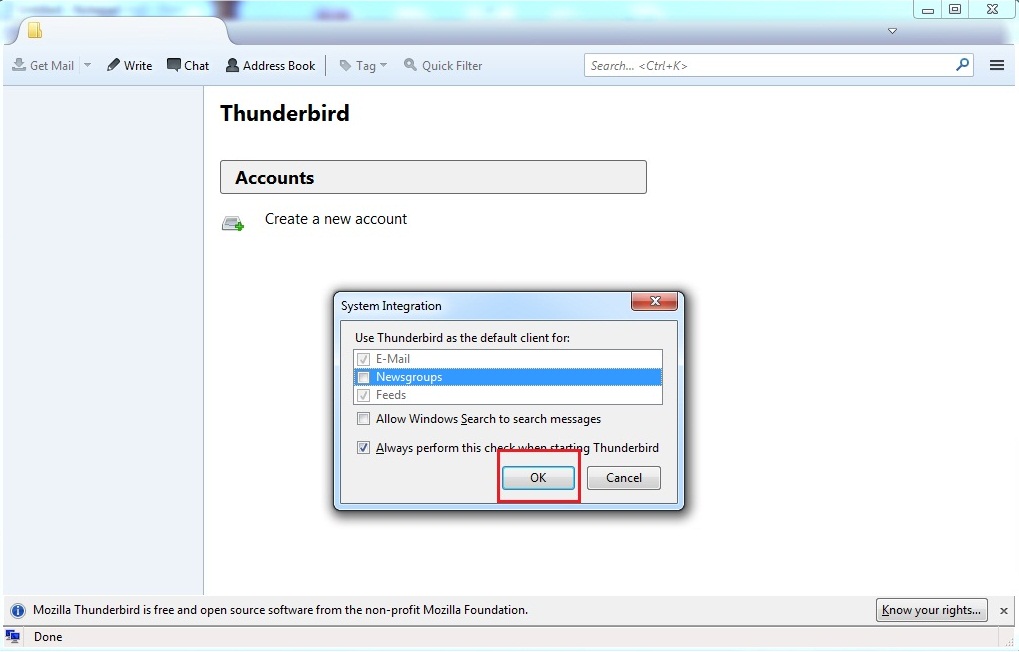
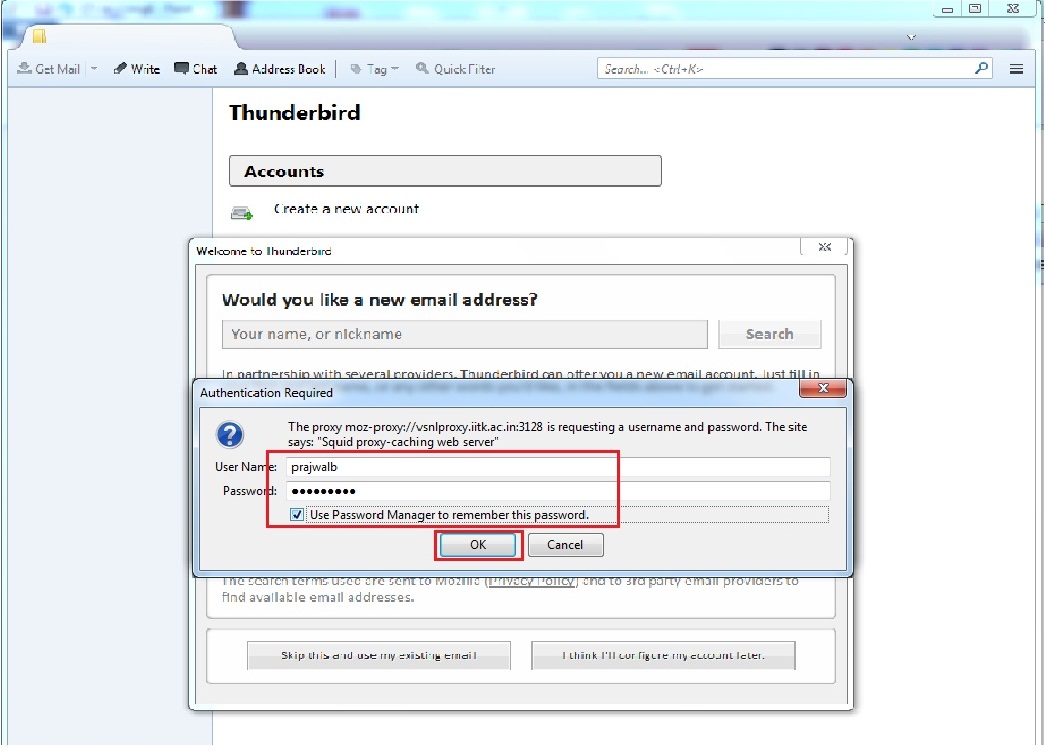
Else, click "OK" and enter the username and password for the proxy.
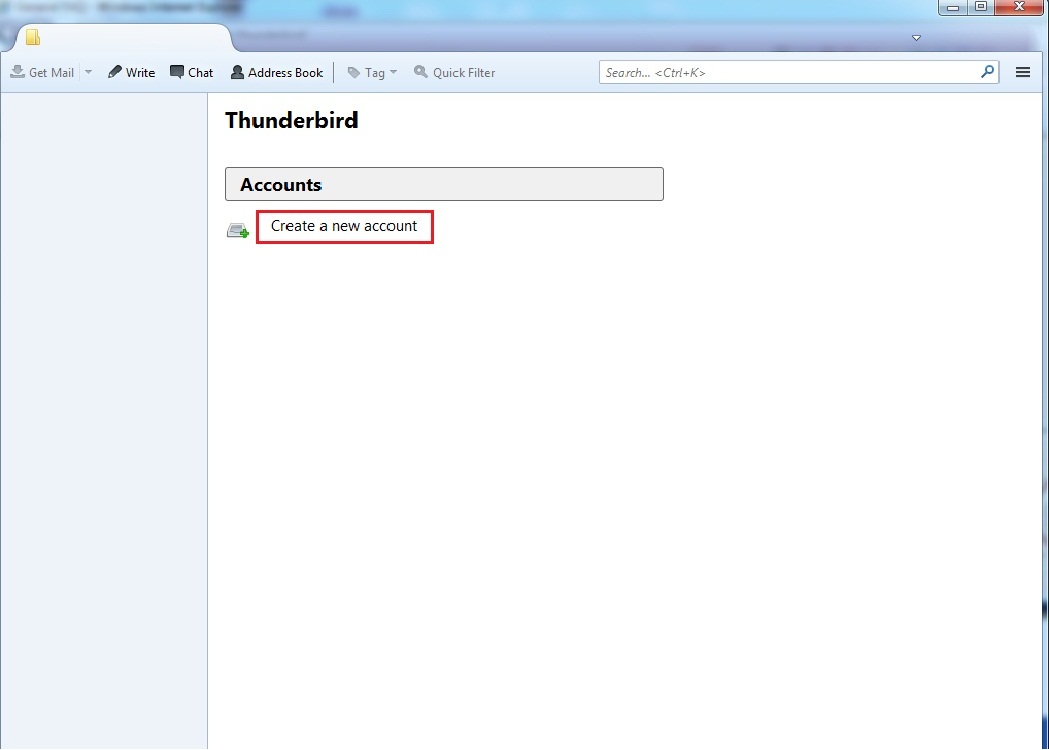
- Click on "Create a new account".
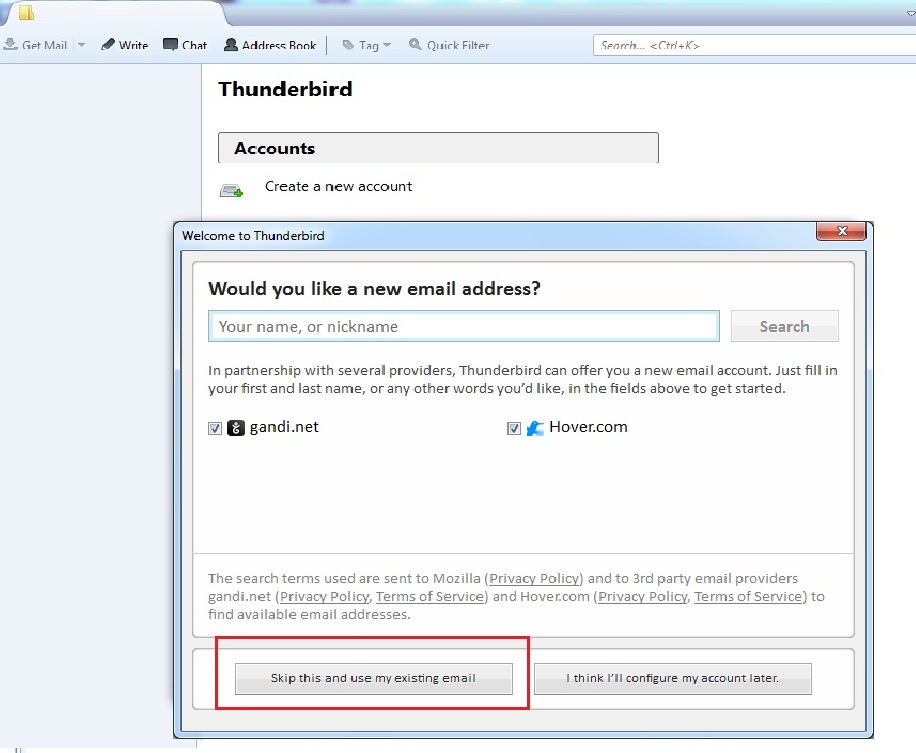
- Select "Skip this and use existing email".
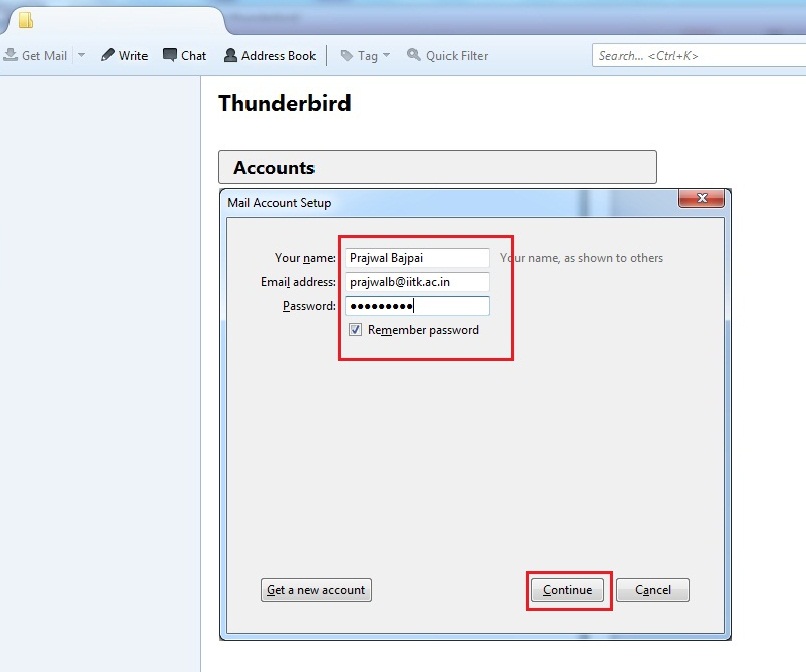
- Enter your Display Name and CC email address and corresponding CC password, and click "Continue" as shown below:
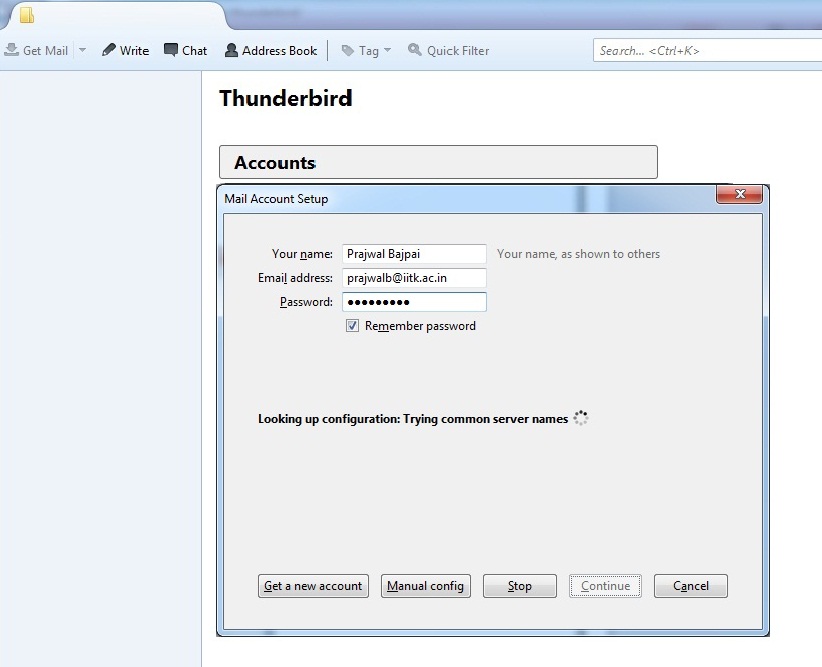
- Wait for the configuration to complete.
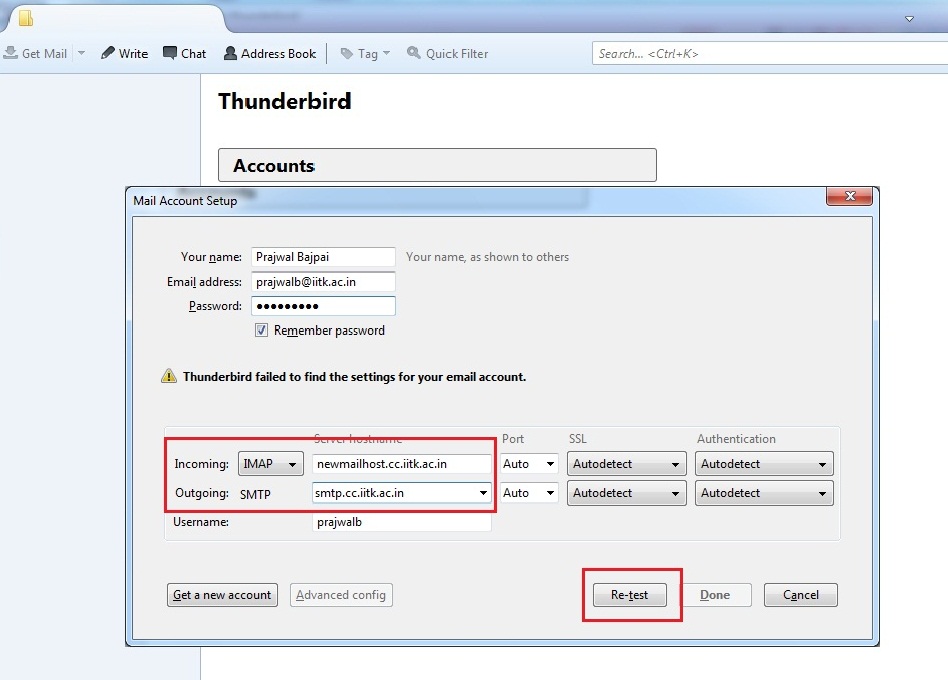
- Warning message "Thunderbird failed to find the settings of your mail account" will come for faulty configuration;along with prompting text fields to enter Incoming and Outgoing server details. Enter the server details and click "Re-test" button as shown below:
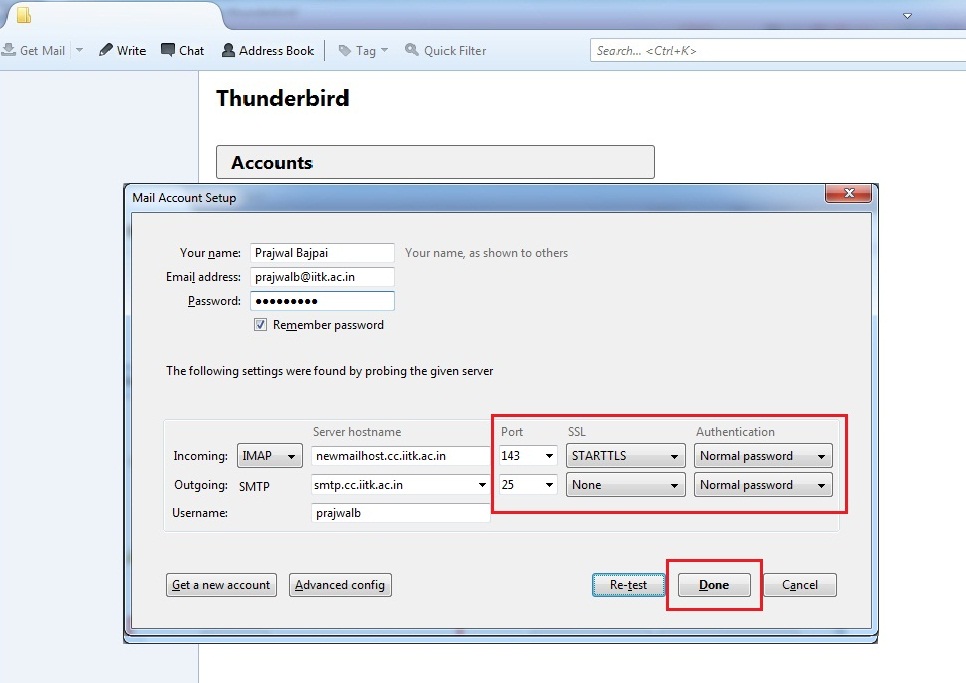
- Again, Wait for the configuration to complete. This time you will get a success message as shown below; then Click "Done".
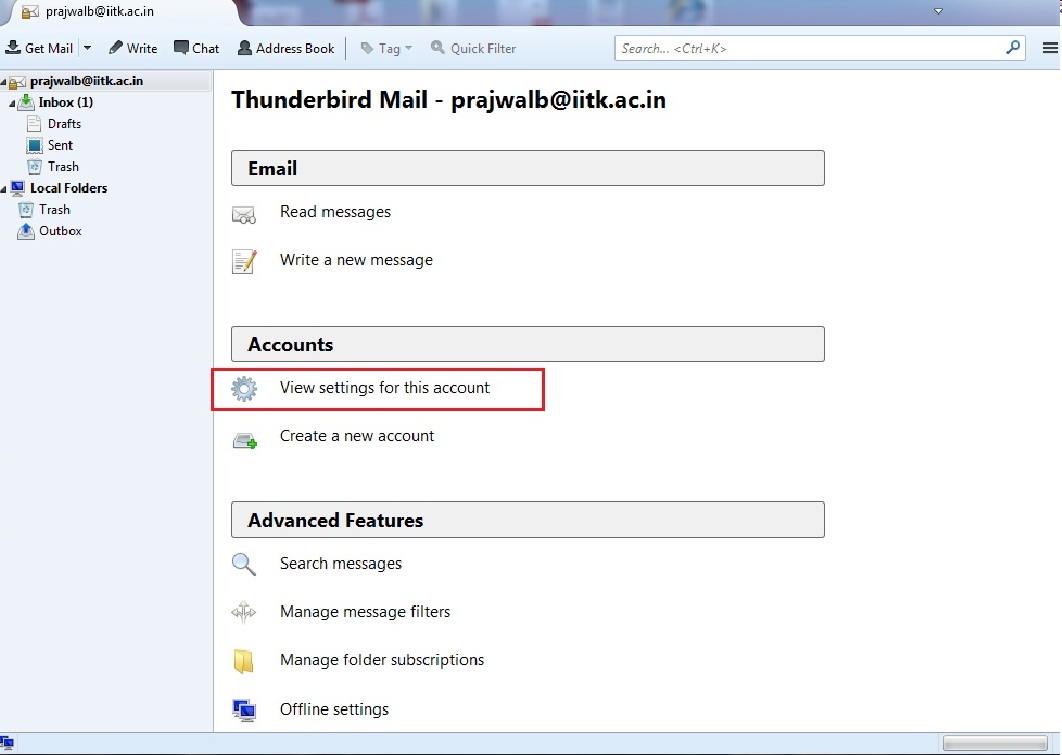
- After successful configuration, check the Account Settings for the configured account as shown below:
- Verify that your entries are correct as shown below:
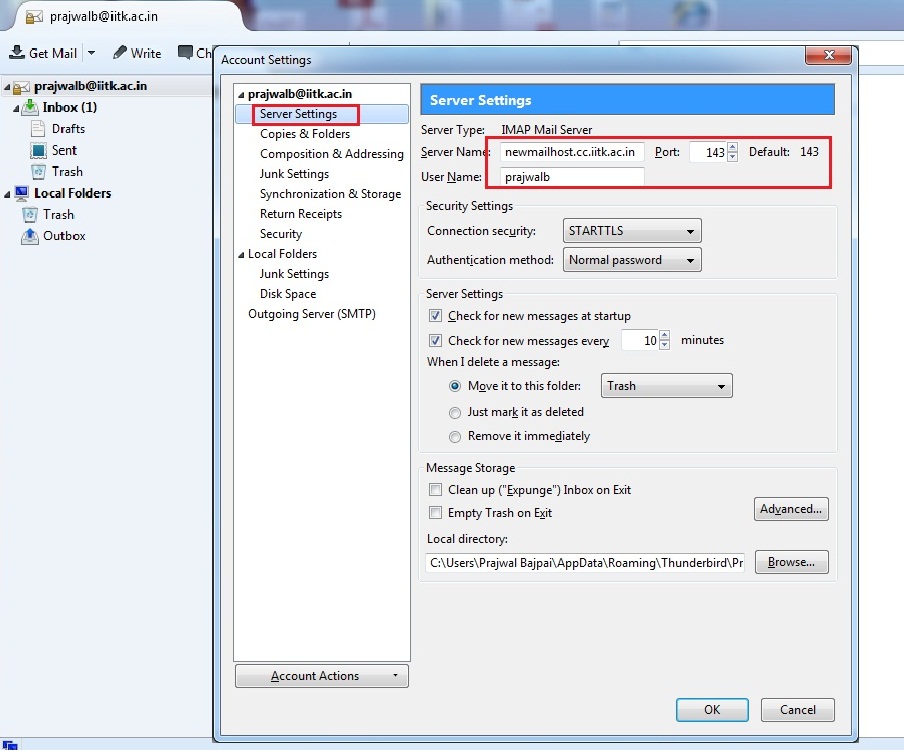
- Verify the "Server Settings" as shown in the following example:
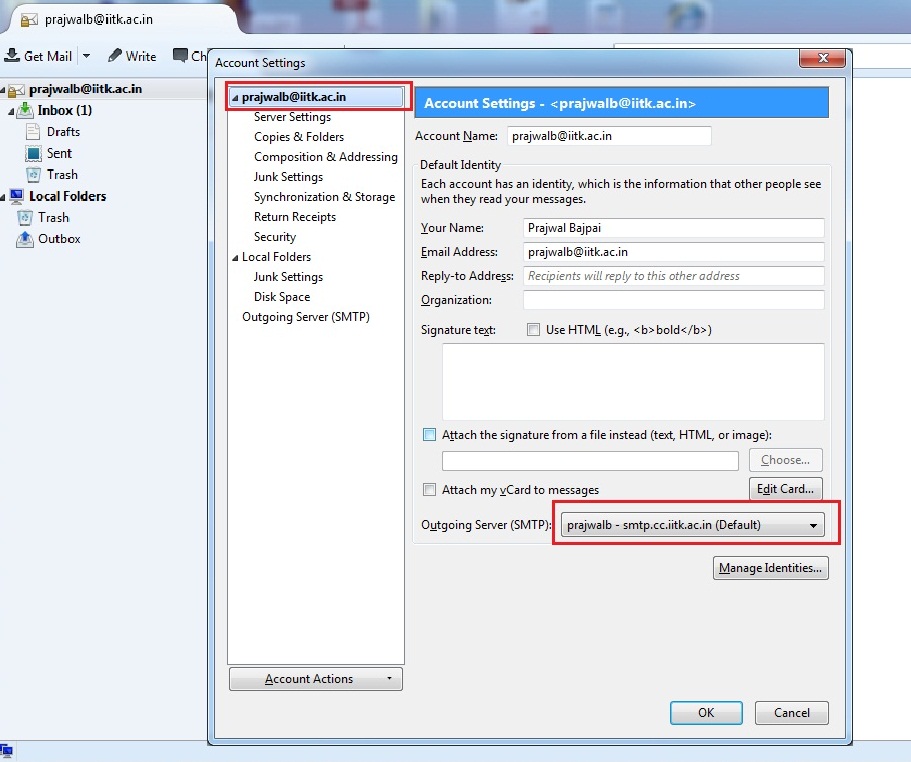
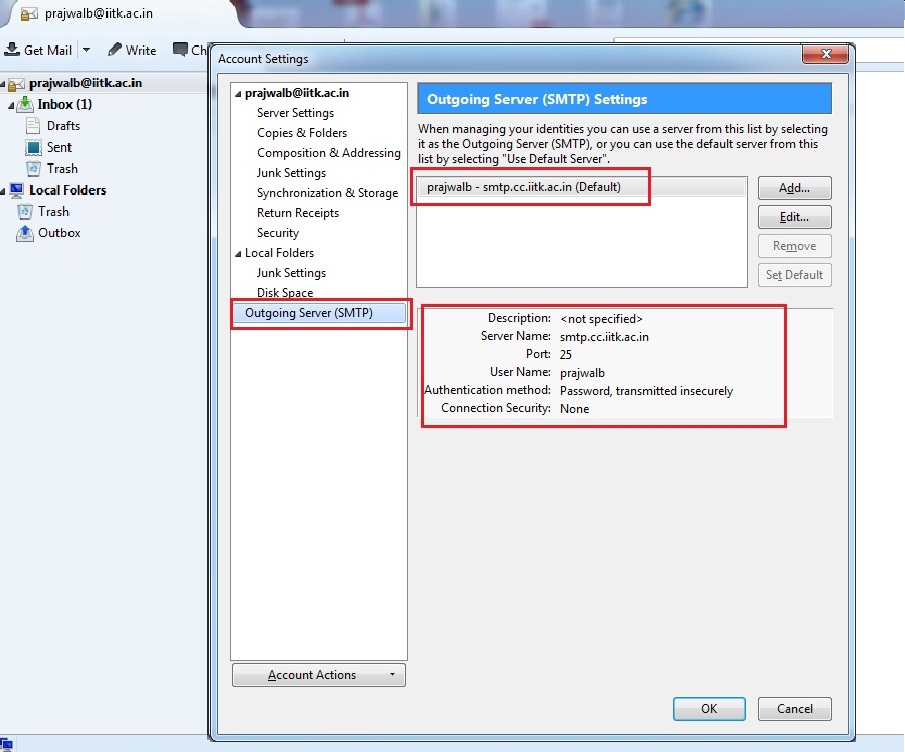
- Verify the Outgoing Server Settings as shown in the following example and click "Ok".
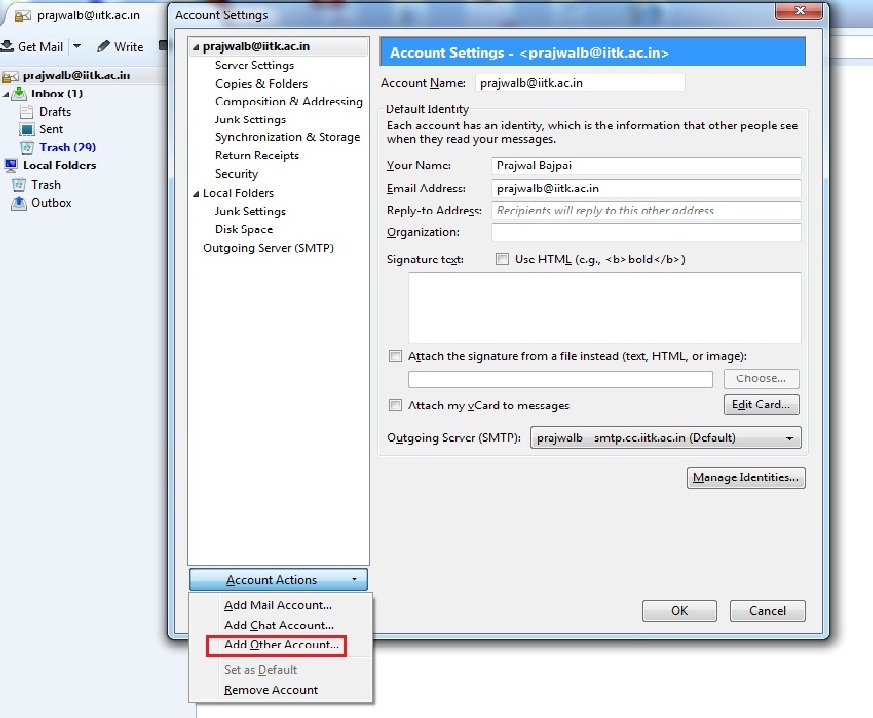
- News Server Installation:
Connecting to the News Server. Account Actions -> Add Other Accounts.
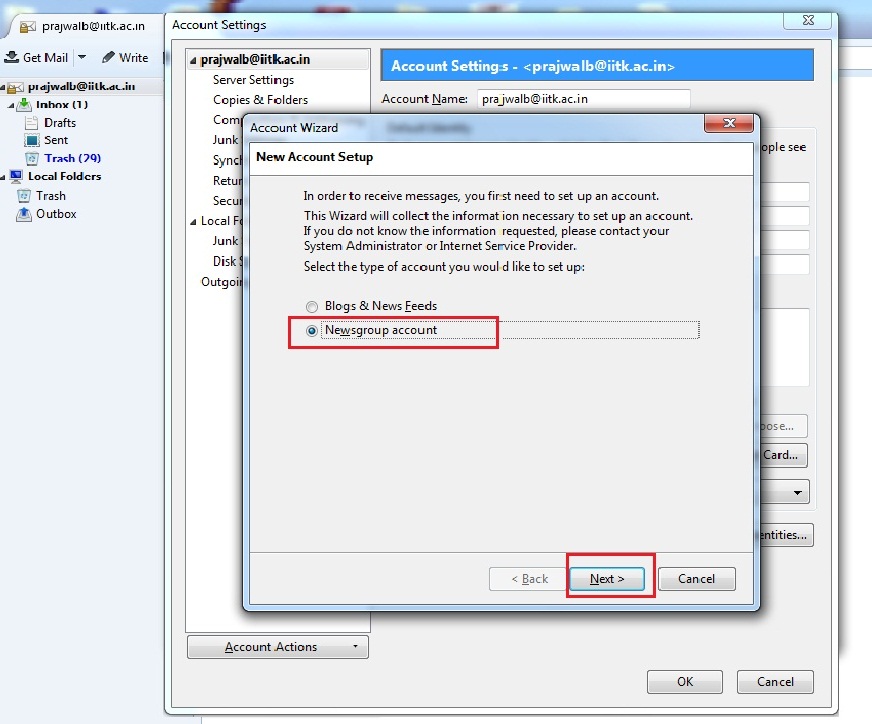
- Select the Newsgroup account as shown below:
- Enter Your Display Name and IITK Email Address as shown in the following example:

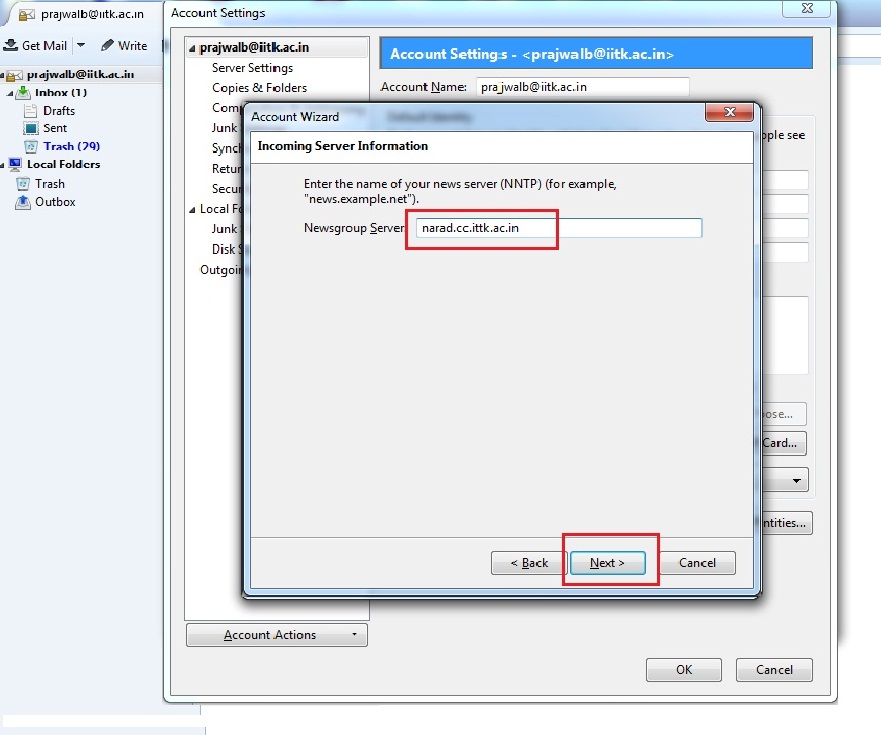
- Enter the Newsgroup Server as: narad.cc.iitk.ac.in
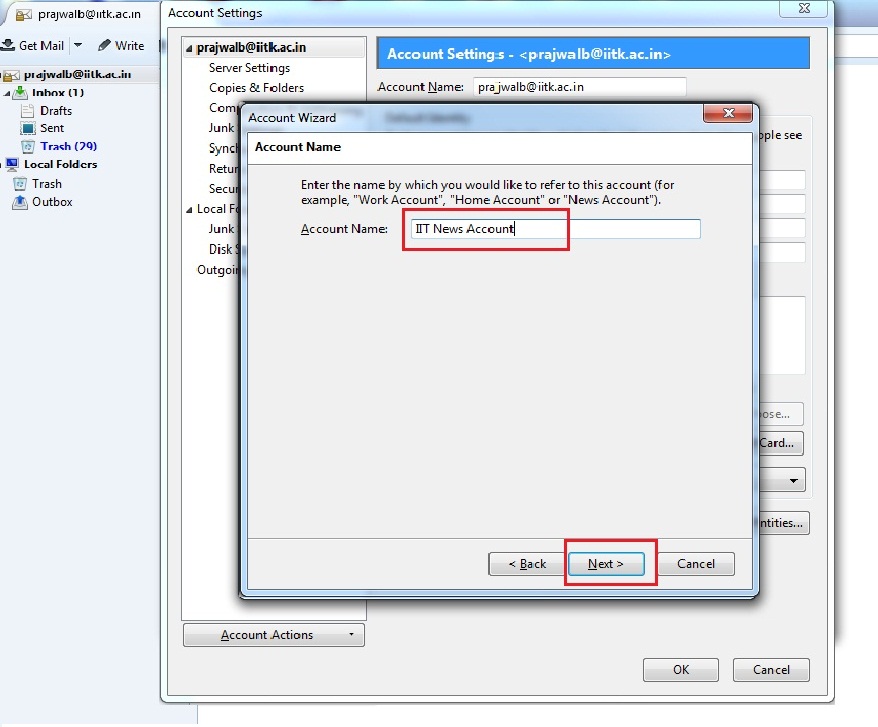
- Enter any name as your Account Name:
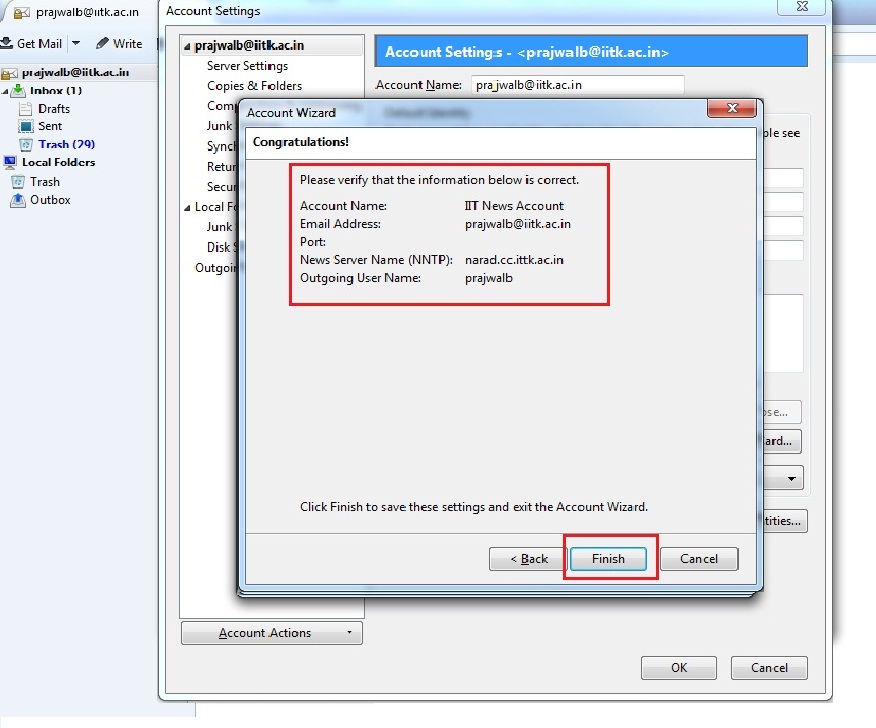
- Verify that your entries are correct as shown in the following example:
- Verify that the Server Settings for your Newsgroup Account and click "OK" if found correct as shown below:
